
Gauge Swatches & Why They Matter
Ever opened a knitting pattern and seen a section labeled “Suggested Gauge”? If you’re like many devil-may-care knitters, you might’ve skipped right over that, picked up your needles, and begun to knit. After all, making a gauge swatch is a pain, and not very exciting. There aren’t strong enough terms for me to caution you against skipping this step, though!
In this post, I’ll go through what “gauge” is in knitting, why you should care about it, how to test your gauge, and how to adjust it. So, let’s dive in!
What is Gauge, anyway?
Gauge, very simply, refers to the number of stitches and rows it takes for your knitting to measure a certain length (usually 4” x 4”). So, for example, you might see on a pattern something like this:
Suggested Gauge: 20 stitches x 28 rows = 4” x 4” in Stockinette Stitch on Size 7 needles.
Gauge is so important that on Ravelry pattern pages, it’s one of the first pieces of info they list! Basically, this means that while you’re working in stockinette stitch (knitting on the front, purling on the back) you should be able to hold a ruler to your work, and find that 4 horizontal inches are made up of 20 stitches side-by-side, and 4 vertical inches are made up of 28 rows on top of one another.
Why does Gauge matter?
Many is the knitter who thinks they can flaunt the rules and get by without testing their gauge. Oh, what folly!
Let’s say, for example, you’re knitting yourself a sweater. You find the size in the pattern that will fit your bust size, and begin knitting without testing your gauge. It tells you to cast on X number of stitches for the body of the sweater, so you do.
BUT what you don’t realize is that you’re knitting more tightly than the pattern suggested in that “Gauge” section you skimmed right over. So, while the pattern says that 200 stitches is going to give you a 40-inch bust circumference, your finished sweater with 200 stitches around is only measuring 32 inches.
Now, you’ve got a sweater that you’ll have to give to your niece, you’ve wasted yarn and time, and have nothing to show for it… which is a shame, because you loved the pattern on that sweater and your niece will probably wear it, like, twice.
If only you had swatched, you could have caught this problem before it started, and adjusted course accordingly!
Of course, there are some ways that you can fix your too-small knits, but none are really as satisfying as simply doing things right the first time around.
So, how do you test your gauge?
Testing your gauge is simple! Along with giving the gauge the pattern was knit with, most patterns will also list a suggested needle size. Let’s return to the sample we used earlier:
Suggested Gauge: 20 stitches x 28 rows = 4” x 4” in Stockinette Stitch on Size 7 needles.
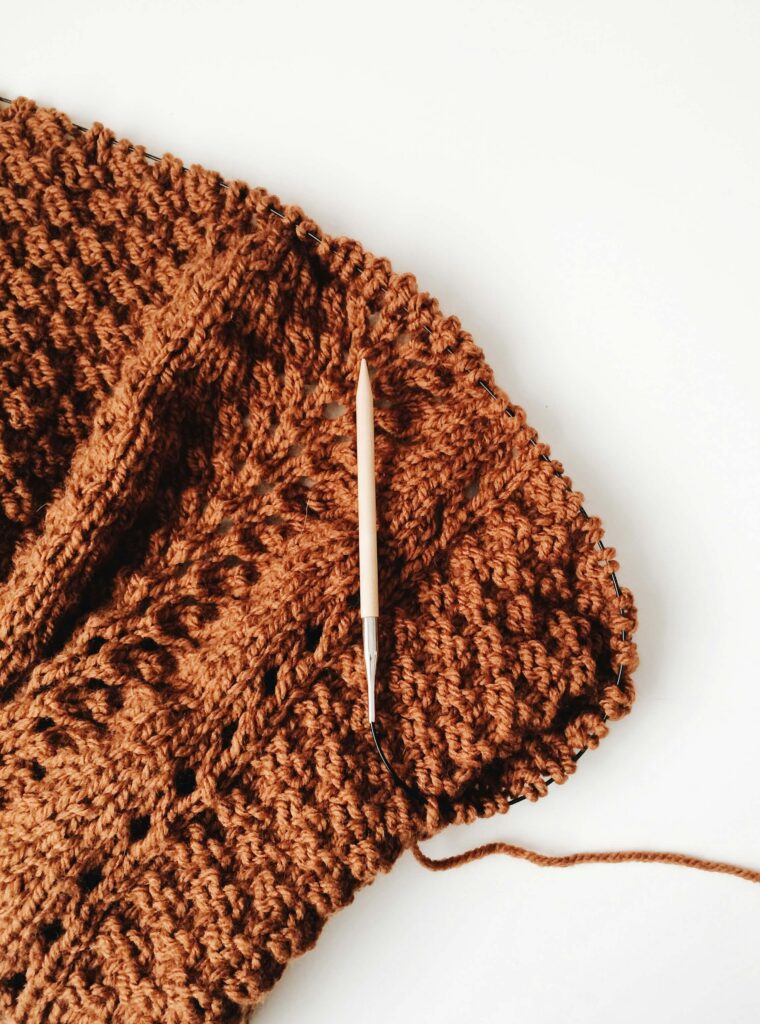
With this info, you should grab your Size 7 needles and cast on at LEAST 28 stitches (not just 20). Stockinette Stitch has a tendency to curl on itself as you work, so you’ll want four stitches at either end of your swatch that you can work in an evenly-tensioned stitch pattern like Garter Stitch.
Along with wanting to work some garter stitch at either end of the swatch, you’ll also want to work three of four full rows of garter to start you off, so the work remains flat.
So, knit your 28 stitches (or however many you need for your actual gauge) back and forth for four rows, then begin working the “gauge stitch” (in this case, stockinette).
What this means is that you’ll work your first four stitches in garter — knitting on the front and back — but for the twenty main stitches of your swatch, you’ll purl them on the back to achieve the right stitch pattern on the right side of the fabric.
Work like this for at least the 28 rows suggested in the gauge swatch. I’ll typically up it a couple of rows, so in this case, it would be 30 rows of stockinette.
Next, you’ll take your measuring tape or ruler, and hold it up to your work. First, you’ll hold it perfectly horizontally, lining it up along the bottom of one row of stitches. This is particularly easy with stockinette, as each little “V” for your knit stitches are well-defined and easy to count. Count how many stitches it takes you to get to 4 inches. If it’s 20, you’re golden!
Once you’ve got your horizontal gauge, you’ll turn your measuring tape so that it lines up vertically with a row of stitches. Count how many stitches stacked on top of one another it takes to get to 4 inches. If it’s 28, then perfect! Your gauge is on-point!
But what if my gauge is NOT on-point?
Great question! This happens to every knitter at some point or another, and it doesn’t mean you’ve done anything wrong. It just means you knit more tightly or loosely than whoever wrote the pattern.
There’s two main ways your gauge can go wrong: it can either be too tight, or too loose.
Too Tight
Let’s say, for example, your work measured 24 stitches and 33 rows to every 4 inches, instead of 20×28 like the pattern suggested. This means your stitches are smaller and closer together than the pattern-writer intended.
How can you loosen up those stitches and spread them out more? Simple — just up your needle size!
A word of caution, though — don’t just go up one needle size and call it a day! You’ll have to re-swatch now, and make sure that this gets you where you need to be. You might wind up having to go up two, or even three needle sizes (though this is rare).
Too Loose
If tight stitching means you need larger needles, can you guess what loose stitching means?
Yup — you’ll decrease your needle size!
If you’re only getting 18 stitches and 24 rows to every 4 inches, you’d be swimming in your finished garment without adjusting your gauge. So, move down to the next needle size, and swatch again.
My Stitches & Rows have a different ratio than the pattern suggests!
This is an issue I run into now and again, and while it seems a bit trickier, it’s really not. For example, going back to our 20×28 example, let’s say that my swatch measured 22 stitches x 28 rows over 4 inches. My vertical tension is perfect, but my horizontal tension is too tight.
This could be because I block my stitching differently than whoever made the pattern (more on this down below), or simply an effect of the yarn I’m using.
Whatever the reason, I always think it’s more important to be aligned with the horizontal tension. In this case, that would mean upping my needle size to ensure a proper fit. I can always knit fewer rows to make up for the difference in vertical tension, but I’d rather a garment be too long than too tight.
Other things to consider
A lot of patterns will say that the measured gauge should be taken “after blocking.” This is one area where I say play it fast and loose. Instead of blocking your swatch (which requires binding off, soaking it in water, and pinning it flat on an absorbent board, then waiting for it to dry for at least 24 hours), what I’d do is simply stretch your swatch a LITTLE bit to measure out your tension. Garments typically “grow” with blocking, as the act of soaking them relaxes the fibers.
If you’re more type-A than I am (hard to do, but I’ve seen it), feel free to go through the process of swatch-blocking. Just know that this means some of the yardage of your yarn will be unusable in your sweater! Typically, when I swatch, once I’ve got it right, I unravel it and use that yarn for my actual sweater.
But it’s totally up to you!
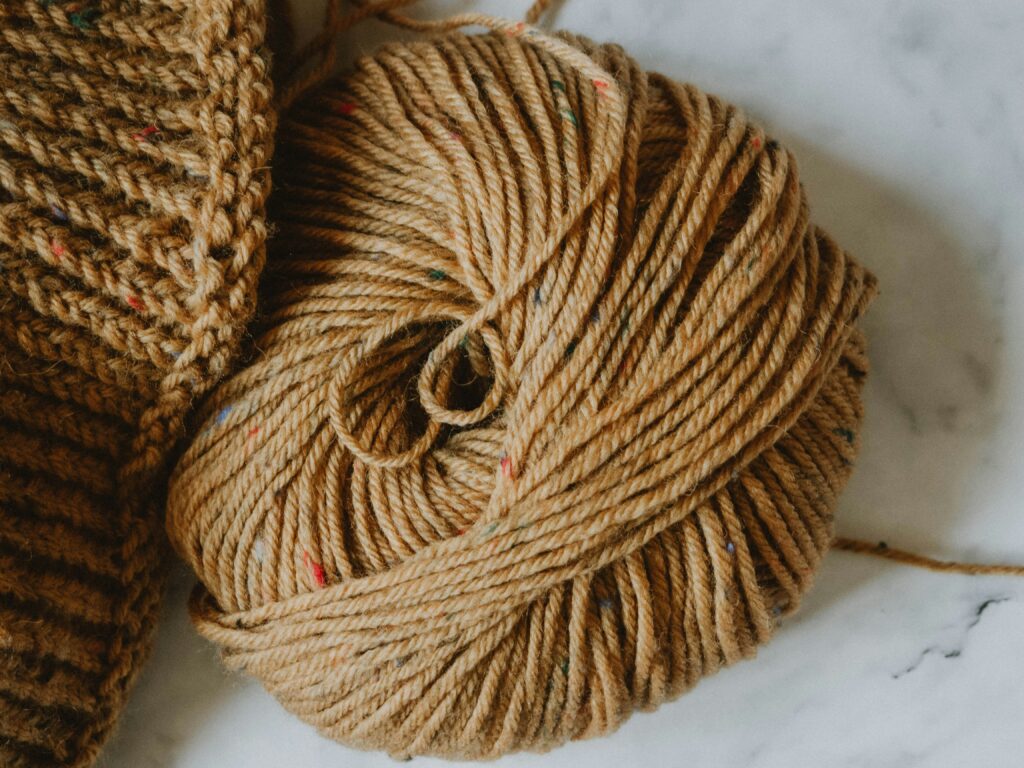
And speaking of yarn… it’s SUPER important to test your gauge with the same needles/yarn you’ll use on your project! So, if you’re planning to work with Cascade220 on wooden needles, you wouldn’t want to test your gauge with Berroco Ultra-Alpaca on metal needles. The fiber content of the yarn, and the material of your needles, will 100% have an effect on your gauge.
To Reiterate…
If there’s one thing I hope you’ll take away from this post, it’s that gauge swatching is 100% worth the time it takes! It’s a simple process that informs your knitting, and guarantees that your final piece will actually be the right size.
Crafters out there… do you swatch? What are your thoughts on swatch-blocking? If you have any questions, let me know in the comments below!