
Candle Making for Beginners
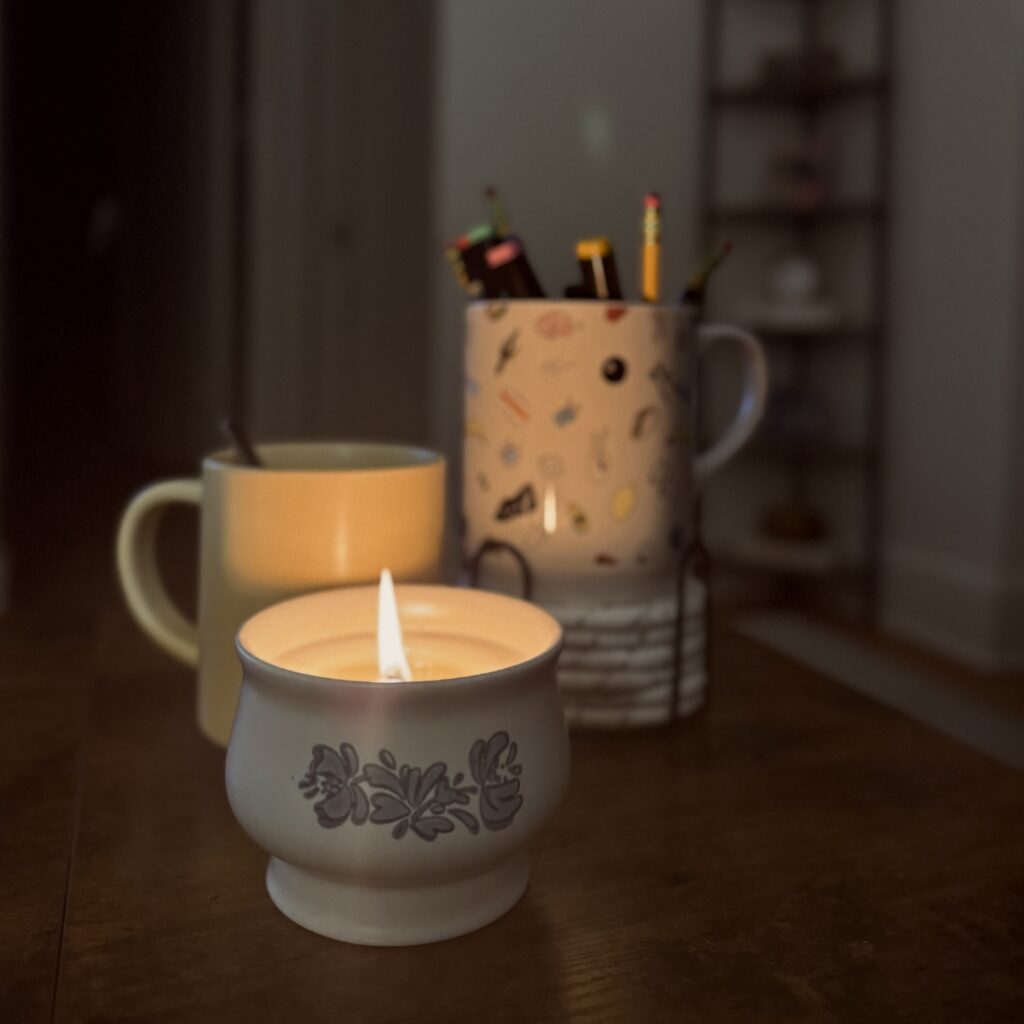
Hello, all! I’m blogging at you tonight from the couch in my living room. I’m currently sitting here in the warm glow of a lavender-and-bergamot scented candle that I poured myself!
I’m guessing you’re here because you, like me, are super intrigued by this new flurry of candle making that’s been happening in the crafting and cottage-industry worlds! I’m here to share what I’ve learned in the literal three weeks since I decided to embark on my candle making journey.
So, Why Candle Making?
Unlike some crafty endeavors, candle making does not require much artistic talent. You can be terrible at drawing a stick figure, and still be an amazing candle maker! In fact, there are some ways that candle making feels more akin to a science than an art. But don’t worry — it’s still a craft, and a wildly addictive hobby to boot!
Additionally, if you’re using the right kind of wax, candle making is a quick and easy process with an equally quick and easy clean-up (unless you’re working with beeswax, which can apparently be much more finicky). It also results in a product that is both beautiful AND useful! It’s something with a purpose that also sparks joy (take that, Marie Kondo!).
But Where Do I Start?
Let’s start with the fun part — shopping! I’m sort of kidding, though, since most of these materials are things you’ll probably have at home already. Here we go:
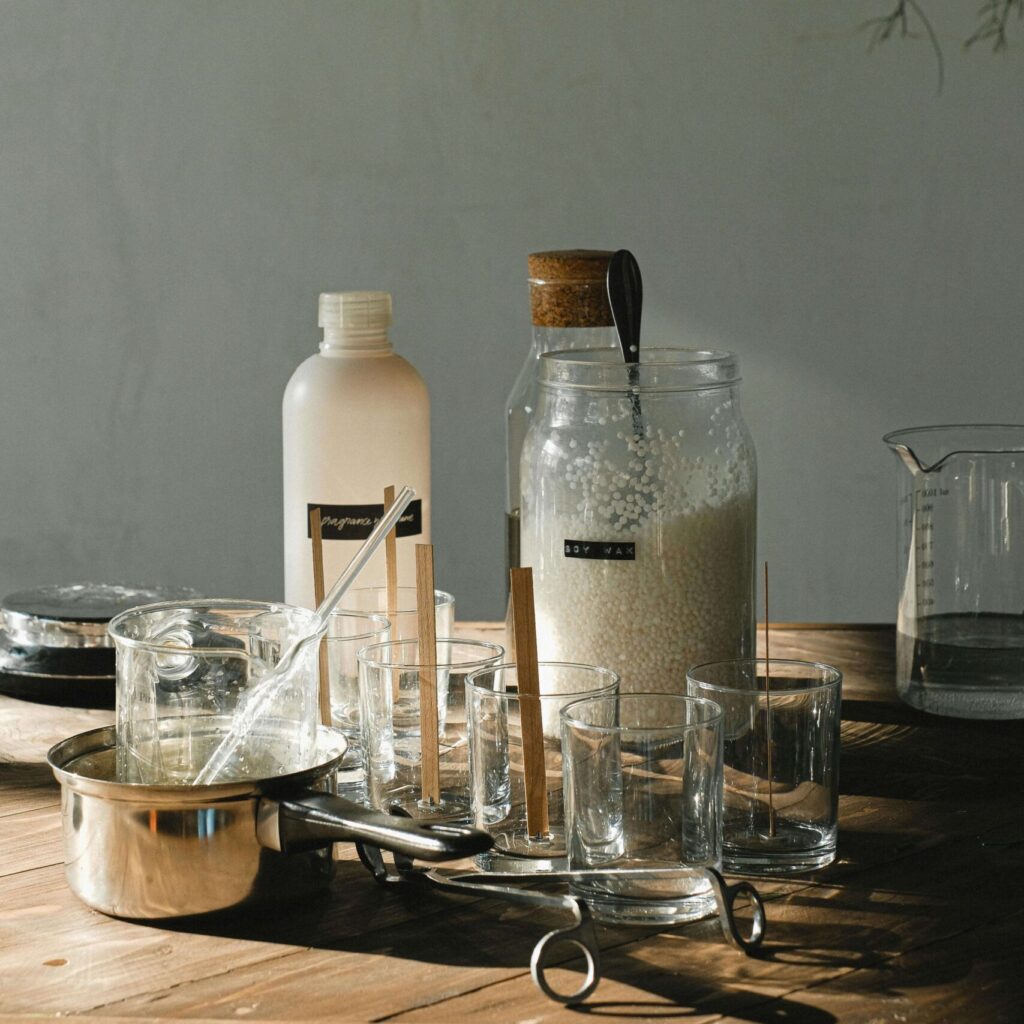
- You’ll need a small saucepan to use for double-boiling (more on that process down below), and a small metal pitcher for melting wax.
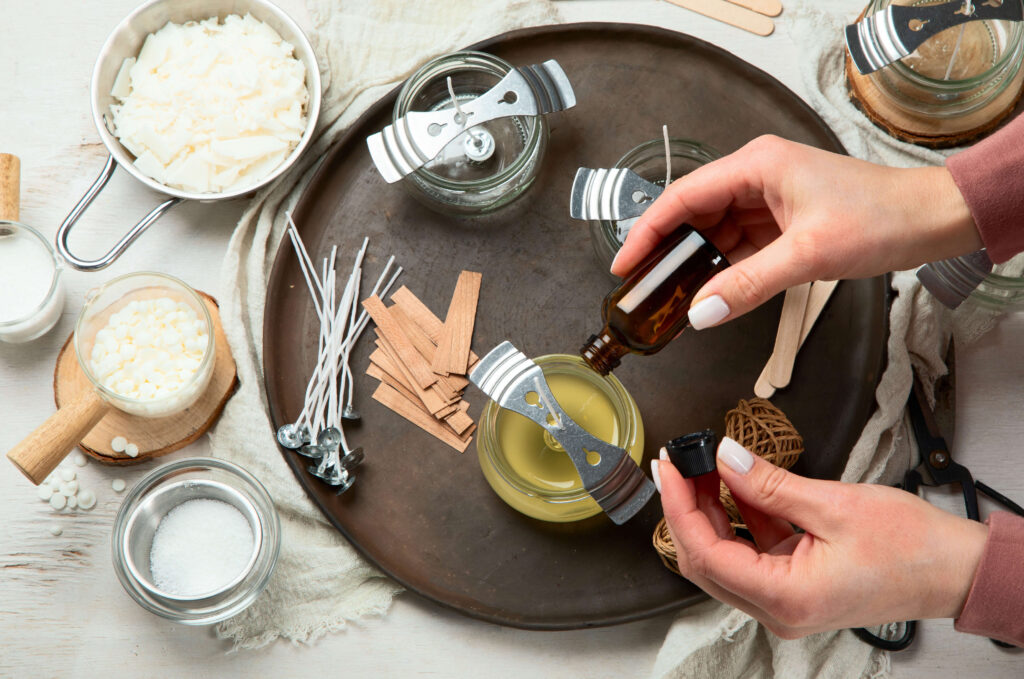
- If you want your candles to be scented, you’ll want to order a fragrance oil or essential oil (there are pros and cons to each, but I think as I’m learning more, I lean more towards the fragrance oil camp). For my first candle, I used the free sample of Bergamot fragrance oil that came with my Candle Science order, plus some Lavender essential oil I already had in the house.
- Regardless of whether you’re scenting your candles, you’ll need wax. There are three main types of wax used in candle making (bee, soy, and paraffin), but soy is the most highly recommended for beginner candlemakers. I chose to work with a soy-coconut blend (I won’t bore you with the reasons why… not in this post, anyway!). I ordered my wax from Candle Science because of their spotless reputation and their website was easy to use. They also send along a free sample of fragrance oil when you order $25 or more of supplies — woohoo!
- While you’re online shopping for wax, snag yourself some wicks, too! I got pre-tabbed wicks and some wick-stickers for placing wicks in the bottoms of my containers. Candle Science even has a wick calculator to help you determine the right wicks to buy for the containers and wax you’re using (also, I promise, they’re not paying me to say any of this… I’m way too new at blogging for that!)
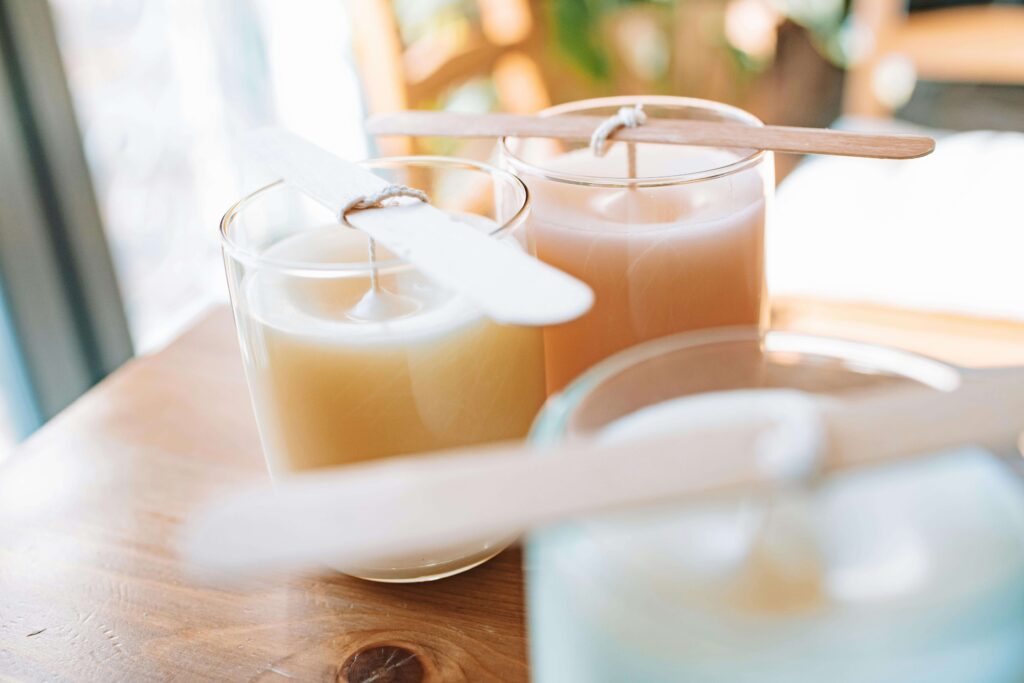
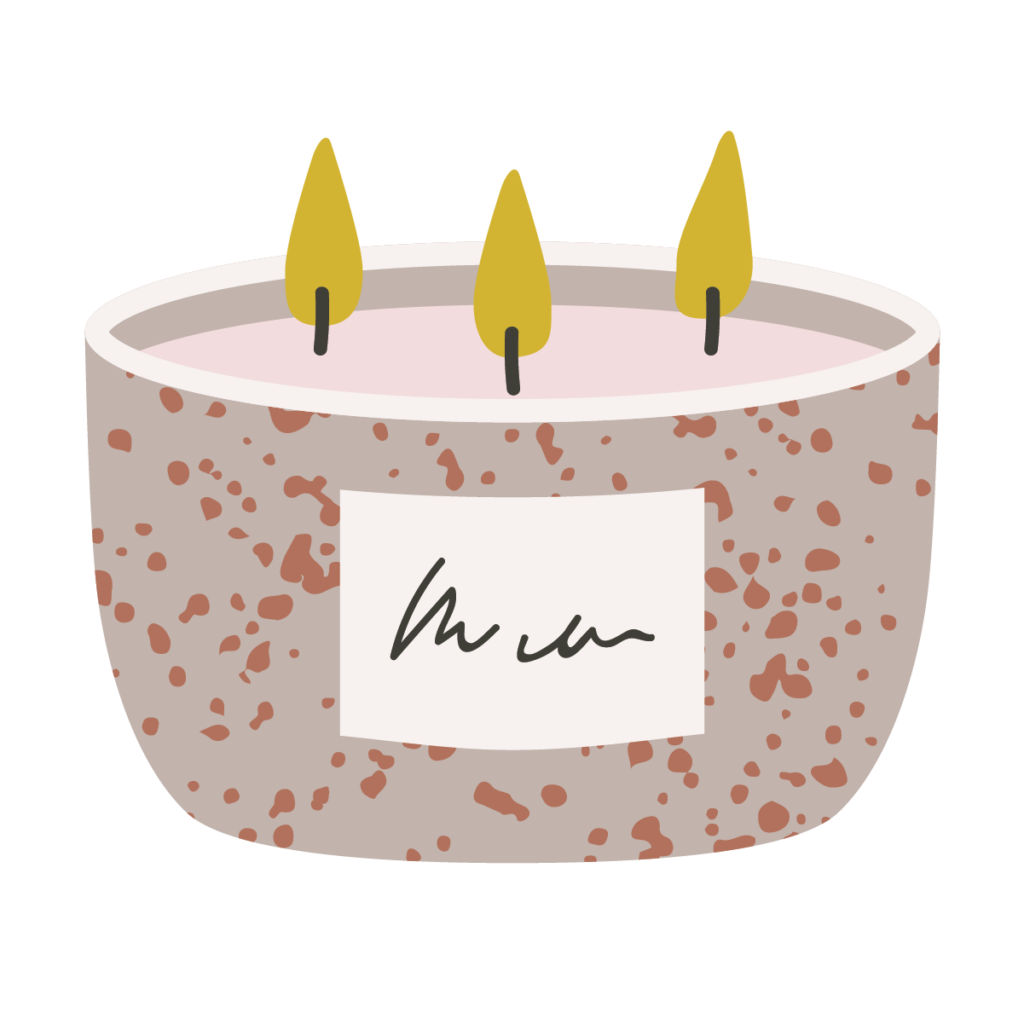
- And speaking of your containers… “container candle” is a pretty broad term. You can usually recycle something you’ve already got at home — an old jam jar, a thrifted teacup, a stoneware crock like the little one I used, the list goes on. Just make sure it’s not something too flat and wide, or something with a narrowed bottleneck (like a bud vase). If you have nothing on-hand, you could always order some candle tins when you get your wax and wicks.
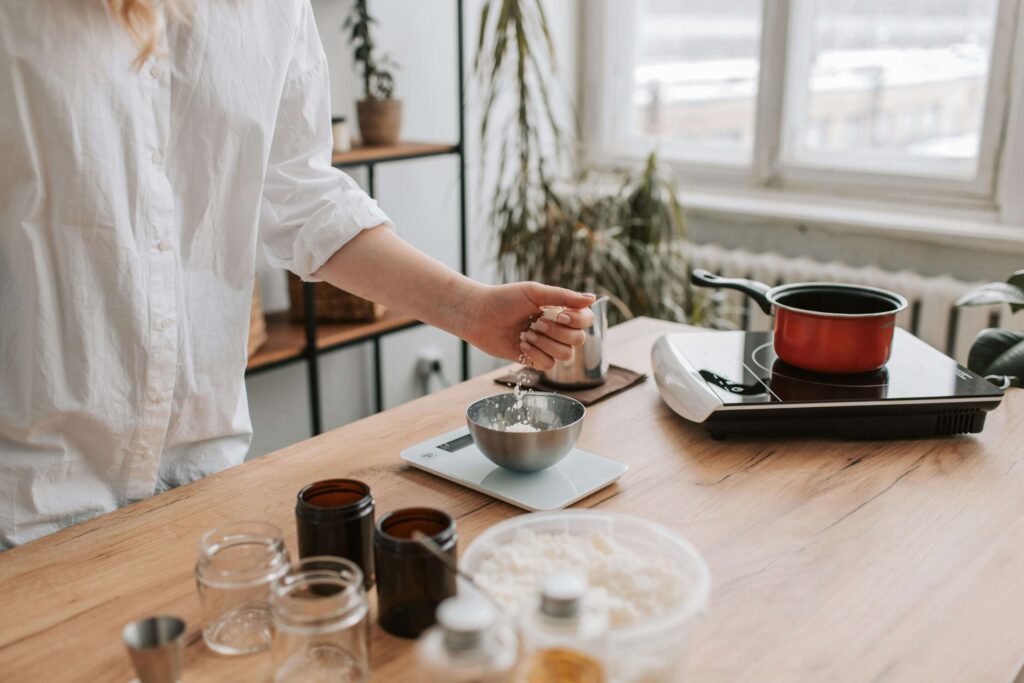
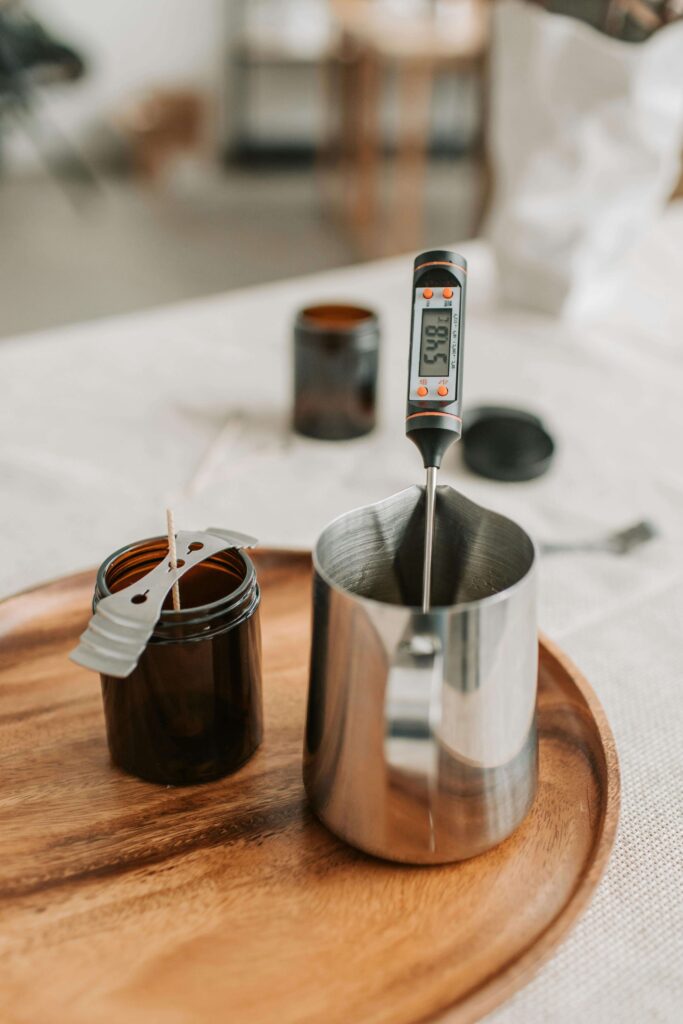
- You’ll also want to get a hold of a couple of measuring tools — namely, a thermometer and a kitchen scale. I used the meat thermometer I already owned, because I’ve used it all of once in the last ten months for meat, so figured it’s safe to say I won’t be needing it in the kitchen again. I wouldn’t recommend using your regular kitchen thermometer, though, as it will be in direct contact with your wax and fragrance oils. The scale, on the other hand, CAN be the one you regularly use in the kitchen (if you’re someone who measures food on a scale… I’m not, so I had to buy one from Amazon).
Making a Container Candle
Prepping
Okay. You’ve got your supplies in the house, you’re standing in your kitchen with your bag of wax at the ready. What now?
First, figure out how much wax you’ll need. To do this, set your candle container on your kitchen scale and tare it out — this sets the scale’s measurement back to zero. Then, pour water to fill the container as high as you’d like your wax to go. Check the scale to see how many ounces of water you’ve got (mine was 9 ounces on the dot). Next, do some simple math to account for the difference in density between water and wax. Simply multiply your water weight by .86 (so, in my case: 9 x .86 = 7.74oz of wax).
Next, pour out your water and prep the container. To do this, you’ll want to wipe down the interior with rubbing alcohol, and make sure it’s totally dry. Then, you’ll put a wick-sticker on the bottom of your wick’s tab, and then stick it to the bottom of your container. I’ve read that hot glue can also get the job done here, but I found the wick-stickers were worth the (very small) investment to make things that much easier. Plus, it’s one less hot, melty thing going on in the kitchen!
Measuring & Melting
Now, remember your wax weight? You’ll need it! Set your wax pitcher on the kitchen scale, and tare it to zero again. Scoop your wax into the pitcher a little bit at a time. My wax came in flakes, so this was simple. Stop once you’ve hit the proper weight, and put the rest of your wax away. You won’t need any more for this candle. Fill your saucepan with some water, and set the pitcher of wax inside that saucepan. This method is known as double-boiling. Warm it over medium-high heat, checking the temperature until you’ve reached the suggested temp for your wax. My wax blend suggested a heat between 180-185°F. Stir occasionally, and remove from heat once it’s up to temp.
While you wait for your wax to melt, use that handy-dandy scale to measure out your fragrance or essential oil. I used a little salad-dressing cup for my oils, but any small container would also work. Typically, between 3-12% “fragrance load” is recommended for soy candles. This means the fragrance oil should make up between 3 and 12 percent of your candle’s weight.
If you’re feeling fancy, you can do extra math to factor that into your wax weight, but “fudging” it worked just fine for me. I, for example, used .8oz oil for my 8 oz candle — .4oz of bergamot fragrance oil, and another .4oz of lavender essential oil (turns out, I could’ve used less essential oil. There’s a LOT of conflicting info out there on essential oil measurements in candles. Most people recommend 100 drops for an 8oz candle, so I probably could’ve gotten away with 50, since it’s only half of my scent load.
Mixing & Pouring
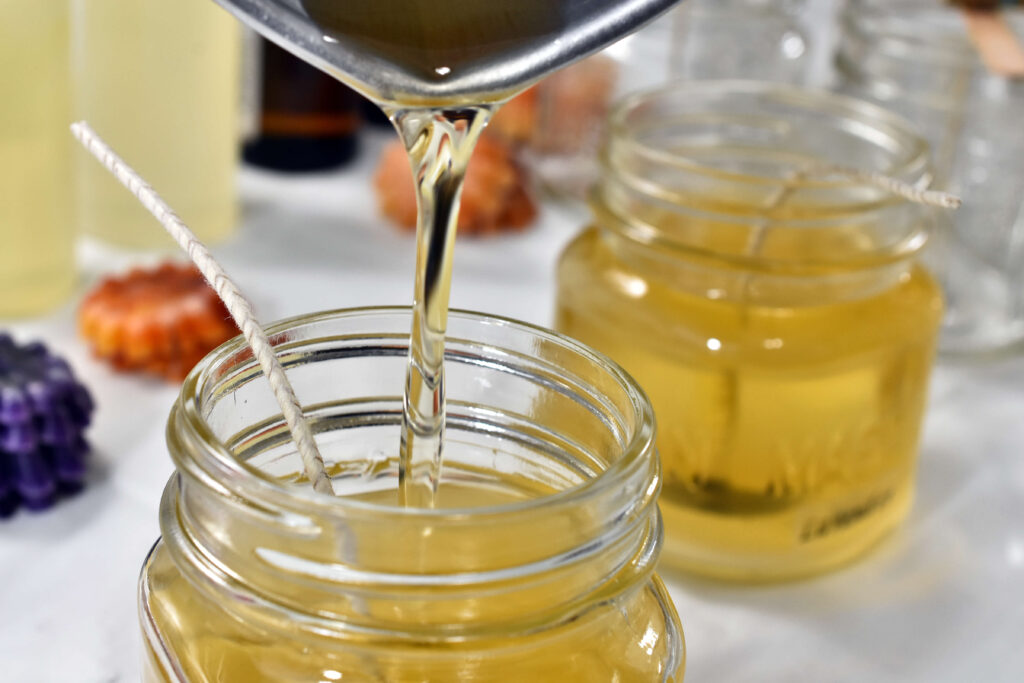
When your wax is ready, and has been removed from the heat, add in your oils! Your wax will typically come with a recommendation of the proper temperature for this step, so follow that. Stir the oils in, and leave the oils to bind to your wax for a few minutes, until your wax has cooled to the proper pouring temp (again, check your wax’s directions).
Now, the exciting part! Once your wax has cooled, but is still liquid, gently, steadily pour the wax into your container, making sure to pour in one shot at a slow pace. This will help to prevent any bubbles, and also stop your wick from wobbling as the wax fills the container.
And that’s it! You’ve made your first candle! Woohoo! Cleanup for soy candles is super simple. All you have to do is wipe out your wax pot with a paper towel until it’s dry to the touch — you’ll only ever be using this pot for candles, so there’s no need to scrub it out! The water from your saucepan can get dumped, and you can put the saucepan away. Toss whatever you used to measure out your fragrance oils (unless it was glass, of course — then hit it with some Dawn and a sponge). My cabinets, counters, and stovetop were all SPOTLESS after my first candle-making session, so that’s all the cleanup that was involved for me!
Candle Curing Time
Huzzah! You’ve made your first ever candle! And I know, you’re watching that wax turn from a transparent liquid to a gorgeous, ivory solid and thinking “Great, I can light it now, right?” But not so fast… as it turns out, candles need to “cure” before you burn them, in order for them to achieve optimum “hot throw” (that’s candle-speak for how much scent your candle gives off when lit). For my wax, this meant TWO WEEKS of just letting that candle sit.
Tom Petty wasn’t kidding — the waiting really is the hardest part. So, set that candle on a shelf where it can look pretty, and at least start giving off some “cold throw” (how much scent the candle gives off when unlit). Alternatively, you can cover the candle with a plastic wrap, or place the lid back on top if you’re using a tin or jar. Then, throw on “Time in a Bottle” by Jim Croce, and stare at the candle longingly every time you walk by for the next fourteen days.
Burn Test

Then, FINALLY, it’s time for the burn test! Let’s light this candle! I poured my candle on New Year’s Eve, and just finally got to light it today (it’s the night of the 14th as I write this). Along with basking in the aromatherapeutic glow of my lavender-bergamot candle, I now see the mistakes I made! For one, I really should’ve listened to the wick guide when it told me the measurement of my container’s diameter put it in the “extra large” category. Silly me, I believed it must only be “large,” so opted for a smaller wick size. Burning your candle will also teach you things like: did you scent the candle properly? Did you really center your wick? Did you pick a wick too small? Too large?
What’s Next for Candle Makers?
If you made any mistakes, don’t beat yourself up! It was your first candle ever! There will be many more to come (admit it — you already want to make, like, 20 more).
The good news about candle-making is, even with the possible mistakes, the process is super simple. So, it really comes down to technically perfecting that process, and getting to know your wax and wicks!
It might seem silly to make so many candles, but hey! We all need different scents for different moods, seasons, or even times of day. And if you, like I know I will, eventually run out of reasons to make candles for yourself, remember that they can make excellent gifts!
Have you made your own candles before? Did I leave any vital information out of this post? Let me know in the comments below! If you found this post helpful, be sure to pin it so you can refer back to it later!